Region

Karnataka

14 Stories
3 Galleries
61 Photos

Places Covered:

BengaluruHalebiduKendattiArabhikottanuruAladamaradapalyaGudibandeVasudevapuraAmbedkar Nagara, Mulluru, Bangalore East, Bengaluru Urban, Karnataka, 560035, IndiaBellotteBelur+26 more

Travel Stories

Wayanad 2026: Everything We Planned, Everything We Missed, and Why It Was Still Worth It
BLOG POST

Wayanad 2026: Everything We Planned, Everything We Missed, and Why It Was Still Worth It

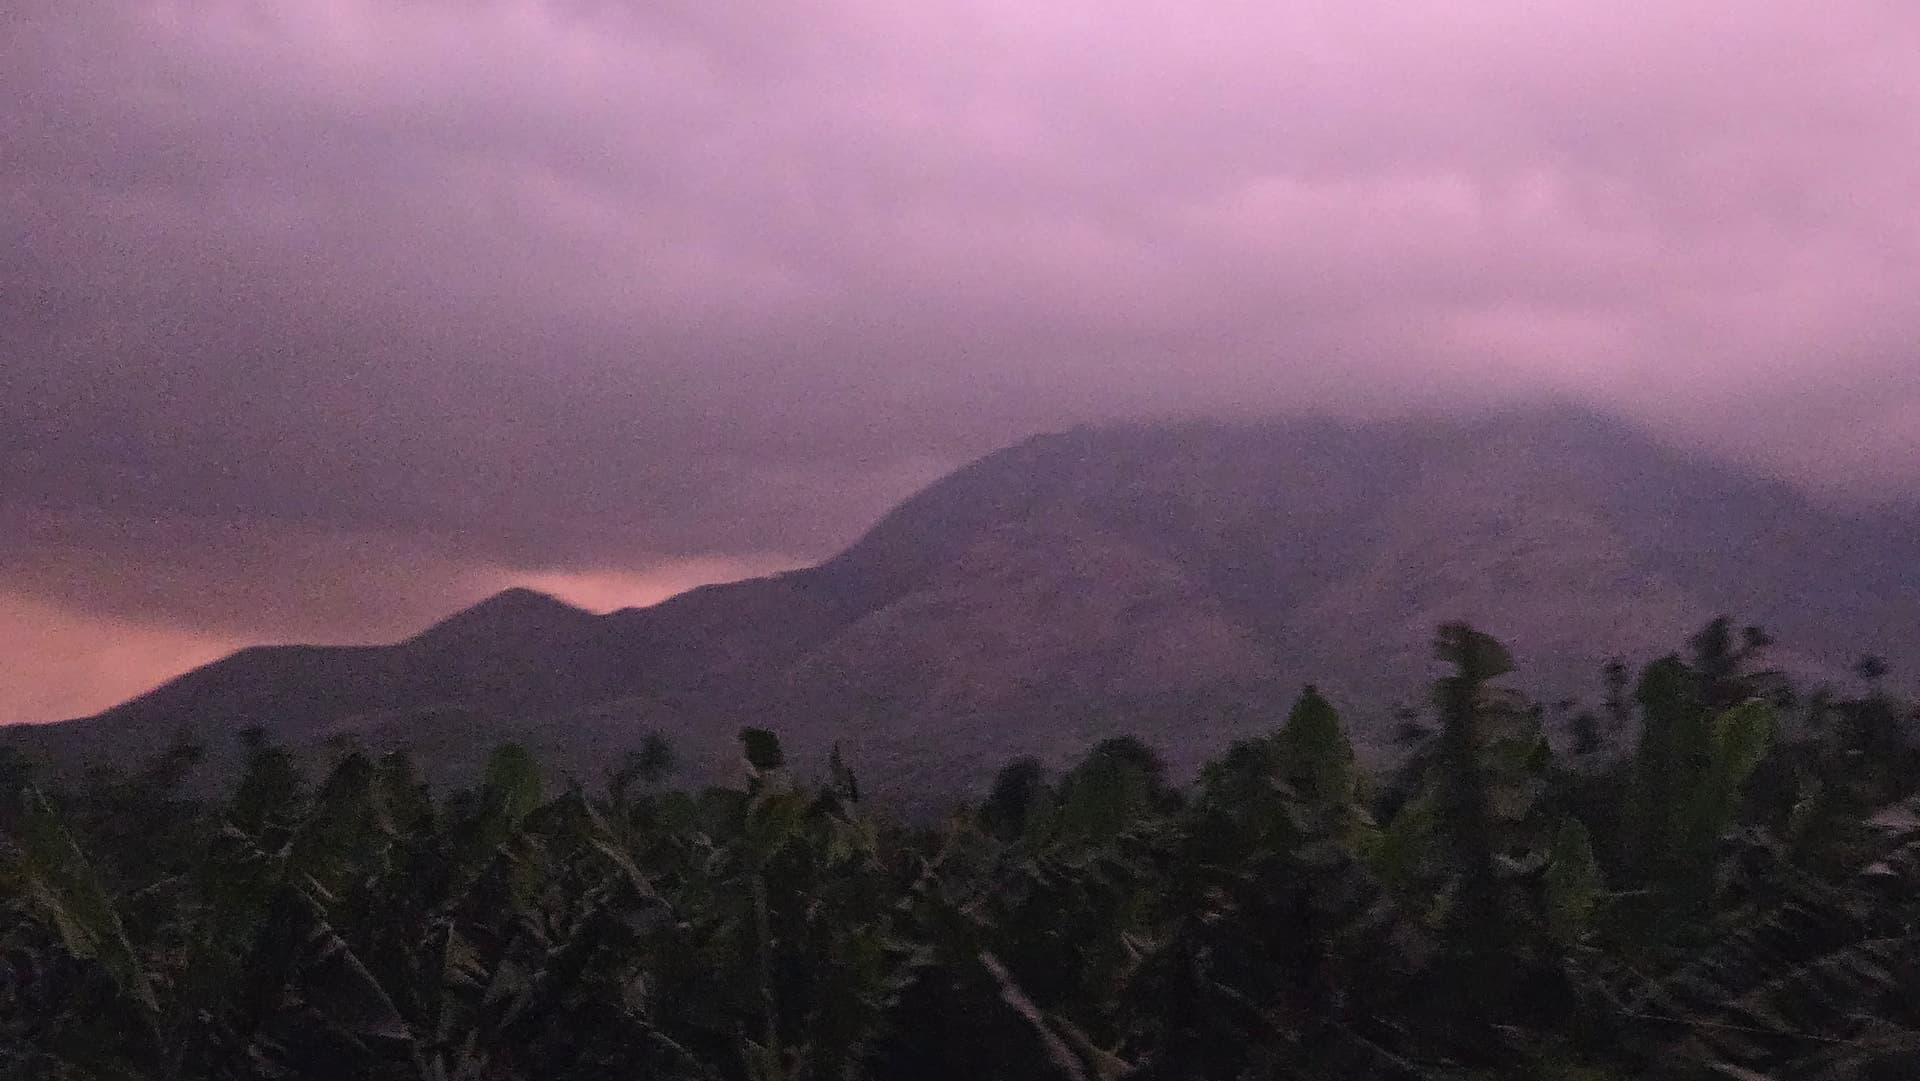
A 4-day Wayanad trip from Bangalore — what we planned, what we missed, and the unplanned moments that made it worth it. Honest guide with food, stays, drives, and practical tips.

The Other Chikmagalur: Tea Gardens, the Kudremukh Ghat, and a Loop We Almost Missed
TRAVELOGUE

The Other Chikmagalur: Tea Gardens, the Kudremukh Ghat, and a Loop We Almost Missed

You've Done the Coffee Estate. Now Do Chikmagalur Properly.The first Chikmagalur trip usually goes the same way.Drive up on a Friday evening. Wake up to mist...

Chikmagalur Travel Guide: A Slow, Soulful Escape into Coffee Country | Road trip from Bangalore
GUIDE

Chikmagalur Travel Guide: A Slow, Soulful Escape into Coffee Country | Road trip from Bangalore

Some places don't fade after one visit.They grow on you. Chikmagalur is one such destination for me — a hill town I've returned to again and again over the...

Weekend Trips from Bangalore: The Complete 2026 Guide (With Season Calendar & Maps)
GUIDE

Weekend Trips from Bangalore: The Complete 2026 Guide (With Season Calendar & Maps)

I've been making weekend trips from Bangalore for over a decade. Long before the Mysore Expressway made Coorg a 5-hour drive, before every hill station in the...

Hoysala Architecture: A Complete Guide to Karnataka’s Most Intricate Temple Style
PHOTO STORY

Hoysala Architecture: A Complete Guide to Karnataka’s Most Intricate Temple Style

A visual guide to Hoysala temples — frieze bands, Mahabharata panels, adhisthana layers, and Belur madanikas in photographs.

Halebidu and Belur: Experiencing the Twin Jewels of Hoysala Architecture | Roadtrip from Bangalore
GUIDE

Halebidu and Belur: Experiencing the Twin Jewels of Hoysala Architecture | Roadtrip from Bangalore

A heritage-focused road trip from Bangalore, best paired with Chikmagalur Quick AnswerHalebidu and Belur are two 12th-century Hoysala temples located just...

2017 – Flashback
BLOG POST

2017 – Flashback

2017 was filled with travel plans, visiting new places and new stories to share. I got to visit the Philippines too! A short summary of the 2017 that went by! Completed around 8 trips, a couple of them were quite long ones. The last one of the year, a 3000 km long road trip for 10 days from Srinagar to Kolkata covering the breadth of North India, was one of my finest.

Relax by the Kaveri - getaway to Bheemeshwari & Mekedatu Sangam
BLOG POST

Relax by the Kaveri - getaway to Bheemeshwari & Mekedatu Sangam

Bheemeshwari, about 100 km away from Bangalore, is an ideal one day getaway for the weekend. Add Makedettu Sangam to your itinerary to enjoy a splendid drive and some boating! This is a perfect place for the nature lover. The quiet moments on the secluded bank, in the company of silently flowing Cauvery, tall trees, the distant jungle, and the azure sky filled my heart with peace and serenity. This is an ideal getaway from Bangalore.

The Navadurga — Bangalore's Nine Hill Forts (+ Madhugiri, Devanahalli & More)
BLOG POST

The Navadurga — Bangalore's Nine Hill Forts (+ Madhugiri, Devanahalli & More)

Explore underrated forts with rich history, scenic views, and thrilling adventures near Bangalore. Discover the forgotten charm of ancient fortresses and embark on a journey to the past. Join us in 2024 as we unveil the mystery of the Navadurga - nine hill forts around Bangalore.

Chunchi Falls from Bangalore (2026) — Waterfall, Sangam & Bheemeshwari Day Trip
BLOG POST

Chunchi Falls from Bangalore (2026) — Waterfall, Sangam & Bheemeshwari Day Trip

Update — March 2026 Access to the water at Chunchi Falls is currently restricted — the guided trek to the plunge pool is no longer operating. The viewpoint...

One Day Trips from Bangalore — Best Drives, Forts & Escapes (2026)
GUIDE

One Day Trips from Bangalore — Best Drives, Forts & Escapes (2026)

📅 Written in 2020. For an updated guide with four organised day-trip routes, 2026 toll and entry notes, and start times — see the Best One Day Trips from...

Gudibande Fort & Bhairasagara Lake — A Day Trip from Bangalore Worth Making
BLOG POST

Gudibande Fort & Bhairasagara Lake — A Day Trip from Bangalore Worth Making

📍 Distance ~100 km from Bangalore 🗺️ Route Bengaluru → Devenahalli → Chikballapur → Gudibande ⏱️ Trek time 45 min up · 20 min down 🎟️ Entry fee Free 📅 Best...

Kendatti Blue water – One day ride from Bangalore
BLOG POST

Kendatti Blue water – One day ride from Bangalore

It was a high pressure work week and a bike ride was due. Trying to hit the target of minimum one bike ride a month, we planned a short day trip amidst all the hustle bustle of daily life. While surfing travel blogs for “Day Rides from Bangalore”, I chanced upon a link to this place often called as the “Chhota Ladakh”, although it looks nothing like Ladakh, I was intrigued. A quick google search for the photos and I added this to my list of bike rides this year.

Bangalore to Madikeri: The Ultimate 3-Day Coorg Road Trip Itinerary
BLOG POST

Bangalore to Madikeri: The Ultimate 3-Day Coorg Road Trip Itinerary

Escape the city with our perfect 3-day Bangalore to Coorg road trip itinerary. Discover the best routes, scenic stops, coffee plantations, and stays in Madikeri.

Photo Galleries

Photos from Karnataka

Google Pixel 7 — 7mm • ƒ/1.9 • 1/336 • ISO 41

Google Pixel 7 — 7mm • ƒ/1.9 • 1/336 • ISO 41

Google Pixel 7 — 7mm • ƒ/1.9 • 1/913 • ISO 422

Google Pixel 7 — 7mm • ƒ/1.9 • 1/913 • ISO 422

Google Pixel 7 — 7mm • ƒ/1.9 • 1/264 • ISO 37

Google Pixel 7 — 7mm • ƒ/1.9 • 1/264 • ISO 37

Google Pixel 7 — 7mm • ƒ/1.9 • 1/176 • ISO 71

Google Pixel 7 — 7mm • ƒ/1.9 • 1/176 • ISO 71

Google Pixel 7 — 7mm

Google Pixel 7 — 7mm

Google Pixel 7 — 7mm • ƒ/1.9 • 1/6667 • ISO 39

Google Pixel 7 — 7mm • ƒ/1.9 • 1/6667 • ISO 39

Google Pixel 7 — 7mm • ƒ/1.9 • 1/117 • ISO 53

Google Pixel 7 — 7mm • ƒ/1.9 • 1/117 • ISO 53

Google Pixel 7 — 2mm • ƒ/2.2 • 1/743 • ISO 54

Google Pixel 7 — 2mm • ƒ/2.2 • 1/743 • ISO 54

Google Pixel 7 — 7mm • ƒ/1.9 • 1/1953 • ISO 41

Google Pixel 7 — 7mm • ƒ/1.9 • 1/1953 • ISO 41

Google Pixel 7 — 7mm • ƒ/1.9 • 1/56 • ISO 44

Google Pixel 7 — 7mm • ƒ/1.9 • 1/56 • ISO 44

Google Pixel 7 — 2mm • ƒ/2.2 • 1/131 • ISO 44

Google Pixel 7 — 2mm • ƒ/2.2 • 1/131 • ISO 44

Google Pixel 7 — 7mm • ƒ/1.9 • 1/590 • ISO 45

Google Pixel 7 — 7mm • ƒ/1.9 • 1/590 • ISO 45

Google Pixel 7 — 7mm • ƒ/1.9 • 1/1808 • ISO 66

Google Pixel 7 — 7mm • ƒ/1.9 • 1/1808 • ISO 66

Google Pixel 7 — 2mm • ƒ/2.2 • 1/1091 • ISO 51

Google Pixel 7 — 2mm • ƒ/2.2 • 1/1091 • ISO 51

Google Pixel 7 — 7mm • ƒ/1.9 • 1/1855 • ISO 60

Google Pixel 7 — 7mm • ƒ/1.9 • 1/1855 • ISO 60

Google Pixel 7 — 7mm • ƒ/1.9 • 1/1508 • ISO 44

Google Pixel 7 — 7mm • ƒ/1.9 • 1/1508 • ISO 44

Google Pixel 7 — 7mm • ƒ/1.9 • 1/1230 • ISO 48

Google Pixel 7 — 7mm • ƒ/1.9 • 1/1230 • ISO 48

Google Pixel 7 — 7mm • ƒ/1.9 • 1/3906 • ISO 40

Google Pixel 7 — 7mm • ƒ/1.9 • 1/3906 • ISO 40

Google Pixel 7 — 7mm • ƒ/1.9 • 1/3906 • ISO 46

Google Pixel 7 — 7mm • ƒ/1.9 • 1/3906 • ISO 46

Google Pixel 7 — 2mm • ƒ/2.2 • 1/1285 • ISO 49

Google Pixel 7 — 2mm • ƒ/2.2 • 1/1285 • ISO 49

Google Pixel 7 — 7mm • ƒ/1.9 • 1/422 • ISO 37

Google Pixel 7 — 7mm • ƒ/1.9 • 1/422 • ISO 37

Google Pixel 7 — 2mm • ƒ/2.2 • 1/1125 • ISO 45

Google Pixel 7 — 2mm • ƒ/2.2 • 1/1125 • ISO 45

Google Pixel 7 — 7mm

Google Pixel 7 — 7mm

Google Pixel 7 — 7mm • ƒ/1.9 • 1/699 • ISO 47

Google Pixel 7 — 7mm • ƒ/1.9 • 1/699 • ISO 47

Google Pixel 7 — 7mm • ƒ/1.9 • 1/1381 • ISO 41

Google Pixel 7 — 7mm • ƒ/1.9 • 1/1381 • ISO 41

Google Pixel 7 — 7mm • ƒ/1.9 • 1/2020 • ISO 40

Google Pixel 7 — 7mm • ƒ/1.9 • 1/2020 • ISO 40

OnePlus GM1901 — 5mm • ƒ/1.8 • 1/1215 • ISO 125

OnePlus GM1901 — 5mm • ƒ/1.8 • 1/1215 • ISO 125

OnePlus ONEPLUS A5000 — 4mm • ƒ/1.7 • 1/1128 • ISO 200

OnePlus ONEPLUS A5000 — 4mm • ƒ/1.7 • 1/1128 • ISO 200

samsung SM-G980F — 2mm • ƒ/2.2 • 1/1368 • ISO 50

samsung SM-G980F — 2mm • ƒ/2.2 • 1/1368 • ISO 50

samsung SM-G980F — 5mm • ƒ/1.8 • 1/1448 • ISO 50

samsung SM-G980F — 5mm • ƒ/1.8 • 1/1448 • ISO 50

OnePlus ONEPLUS A5000 — 4mm • ƒ/1.7 • 1/2212 • ISO 200

OnePlus ONEPLUS A5000 — 4mm • ƒ/1.7 • 1/2212 • ISO 200

Beauty in Ruins: The Broken Charge of Halebidu

Beauty in Ruins: The Broken Charge of Halebidu

Hoysaleswara Temple: Unfinished Exterior, Full View

Hoysaleswara Temple: Unfinished Exterior, Full View

Hoysaleswara Temple: Interior Mandapa and Lathe-Turned Pillars

Hoysaleswara Temple: Interior Mandapa and Lathe-Turned Pillars

The Cavalry Row (Ashvathara): A Study in Speed

The Cavalry Row (Ashvathara): A Study in Speed

The Divine Ensemble: Musicians and Dancers

The Divine Ensemble: Musicians and Dancers

Hoysaleswara Temple: Sculptural Frieze, Upper Register

Hoysaleswara Temple: Sculptural Frieze, Upper Register

Hoysaleswara Temple: Full-Height Adhisthana View

Hoysaleswara Temple: Full-Height Adhisthana View

Hoysaleswara Temple Complex: Twin Shrines Overview

Hoysaleswara Temple Complex: Twin Shrines Overview

Hoysaleswara Temple: Entrance and Courtyard View

Hoysaleswara Temple: Entrance and Courtyard View

Hoysaleswara Temple: Outer Wall and Stellate Plan

Hoysaleswara Temple: Outer Wall and Stellate Plan

Hoysaleswara Temple: Narrative Panel with Figures

Hoysaleswara Temple: Narrative Panel with Figures

The Kiratarjuniya: Arjuna’s Duel with Lord Shiva

The Kiratarjuniya: Arjuna’s Duel with Lord Shiva

Battle of Kurukshetra: Arjuna vs. Karna

Battle of Kurukshetra: Arjuna vs. Karna

Bhima Slaying Bhagadatta’s Elephant

Bhima Slaying Bhagadatta’s Elephant

The Adhisthana: Layered Narratives of the Temple Base

The Adhisthana: Layered Narratives of the Temple Base

Hoysaleswara Temple: Carving Detail, Outer Wall

Hoysaleswara Temple: Carving Detail, Outer Wall

Hoysaleswara Temple: Exterior Wall Overview

Hoysaleswara Temple: Exterior Wall Overview

Hoysaleswara Temple: Pillar Bokeh, 2019

Hoysaleswara Temple: Pillar Bokeh, 2019

IMG-20150104-WA0046.jpg

IMG-20150104-WA0046.jpg

Showing 20 of 50 photos